A buddy of mine called me last month, pretty frustrated. He’d just walked out of a dealership service center after shelling out $95 for what turned out to be a 10-minute air filter swap. “They literally just popped a plastic box open, pulled out the old one, and slid a new one in,” he said. “I watched the whole thing through the window.” That conversation is exactly why I’m writing this today — because if you’re still paying shop prices for a job that takes zero mechanical skill, we need to talk.
Car air filter replacement is genuinely one of the most beginner-friendly maintenance tasks you can do, and yet it remains one of the most overpriced services at garages across the country. Let’s break it all down — costs, timing, and the step-by-step DIY process — so you’re armed with everything you need going into 2026.
Why Your Air Filter Actually Matters (And When It’s Time to Swap)
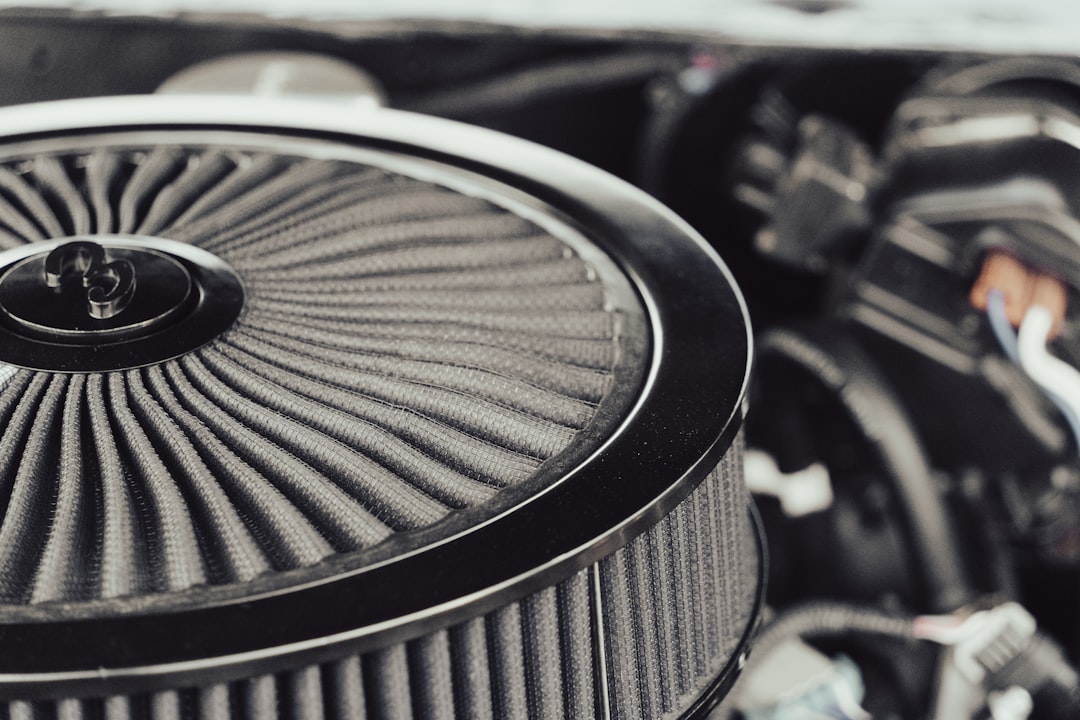
The engine air filter is essentially your car’s lungs. It screens out dust, pollen, debris, and road grime before air enters the combustion chamber. A clogged filter restricts airflow, which forces the engine to work harder — translating directly into worse fuel economy, sluggish acceleration, and in severe cases, a rough idle or check-engine light.
According to data from the U.S. Department of Energy and various independent automotive testing labs, a severely clogged air filter can reduce fuel efficiency by up to 10% on older carbureted engines, and while modern fuel-injected vehicles are less dramatically affected (the ECU compensates), performance degradation is still measurable — typically a 6–7% drop in acceleration response.
General replacement intervals recommended by most OEMs in 2026 are:
- Standard driving conditions: Every 15,000 – 30,000 miles (approx. 24,000 – 48,000 km)
- Dusty/rural environments (gravel roads, construction zones): Every 10,000 – 15,000 miles
- Urban stop-and-go traffic: Every 15,000 miles is a safe benchmark
- High-performance or turbocharged engines: Follow OEM specs closely — often 12,000 – 15,000 miles
The visual check method also works well: hold your old filter up to sunlight or a bright light. If you can’t see light passing through, it’s time to replace it. Simple as that.
Real Cost Breakdown: Shop vs. DIY in 2026
Here’s where things get eye-opening. Let’s look at actual numbers:
- Dealership service center: $60 – $120+ (parts + labor, often with a “multi-point inspection” upsell)
- National chains (Jiffy Lube, Valvoline, Firestone): $35 – $75 including parts
- Independent local mechanic: $25 – $55 including parts
- DIY with OEM-equivalent filter: $12 – $28 for the filter alone
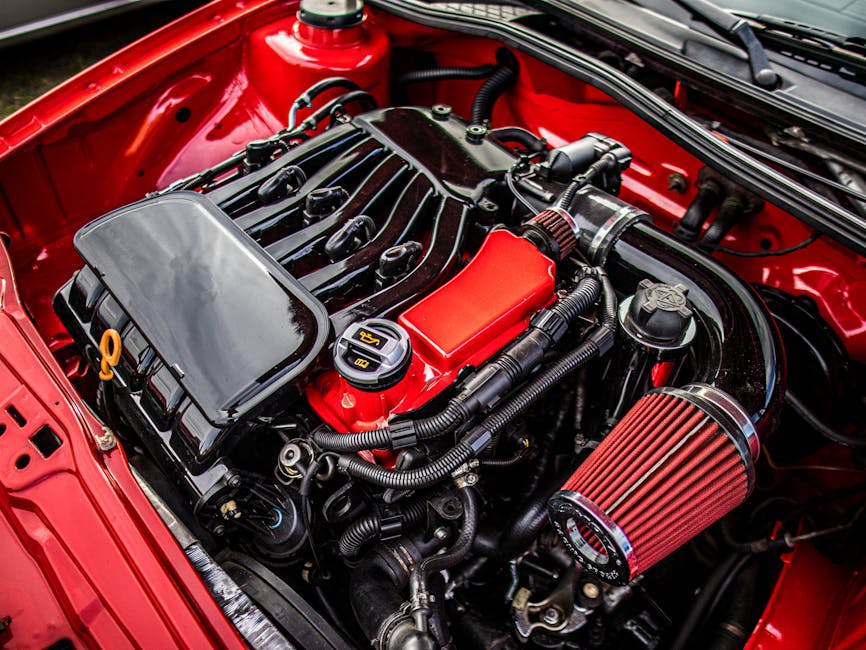
- DIY with a premium reusable filter (K&N, AEM): $50 – $80 upfront, but lasts the life of the vehicle with periodic cleaning
The labor component at a shop is almost always $15 – $40 for a task that realistically takes 5–15 minutes. When you’re doing it yourself, that’s pure savings every single time. Over a vehicle’s lifetime (say 150,000 miles), you might replace the filter 6–8 times — that’s potentially $200–$400 in saved labor costs alone.
DIY Step-by-Step: How to Replace Your Car Air Filter
Let’s walk through it. No special tools required — seriously, in most cases you don’t need anything beyond your hands or a simple flathead screwdriver.
Step 1: Buy the Right Filter
Look up your vehicle’s year, make, model, and engine size on sites like RockAuto.com, AutoZone, or Amazon. Cross-reference your owner’s manual. Common OEM-equivalent brands include FRAM (their Ultra Synthetic line is solid in 2026), Bosch, Wix, and Purolator. For performance-minded drivers, K&N’s drop-in filters are washable and reusable.
Step 2: Locate the Air Filter Housing
Pop the hood. The air filter housing is typically a large black plastic box connected to a thick intake tube (the air intake duct) leading toward the engine. On most modern vehicles it’s clearly visible near the front of the engine bay or on one side.
Step 3: Open the Housing
Most housings are secured by either: (a) metal spring clips you pinch and lift, or (b) 3–4 screws/bolts requiring a flathead or Phillips screwdriver. Loosen or unclip all fasteners, then carefully lift the lid. Don’t yank — there’s often a sensor connector or intake hose attached.
Step 4: Remove the Old Filter
Lift the old filter straight out. Take a moment to note which direction it sits — most filters are rectangular or cylindrical and fit only one way, but it’s good practice to check orientation. Use a dry cloth or vacuum to clean any debris from the housing interior.
Step 5: Insert the New Filter
Place the new filter in, matching orientation. The rubber gasket edge should sit flush against the housing walls with no gaps. Gaps mean unfiltered air bypasses the filter entirely — not good for your engine.
Step 6: Reassemble and Done
Close the lid, reattach all clips or screws, and ensure any disconnected sensors are plugged back in. Start the engine briefly — you’re listening for anything unusual, and visually checking that nothing is loose. That’s genuinely it.
Research Corner: What Real-World Data and Community Testing Tell Us
The Car and Driver editorial team conducted a 2025–2026 series of fuel economy tests on a cross-section of popular vehicles (Toyota Camry, Honda CR-V, Ford F-150, Hyundai Tucson) comparing performance with clean vs. 30,000-mile-old clogged filters. Their findings confirmed roughly a 5–8% reduction in throttle responsiveness and a measurable (if small) uptick in fuel consumption on the F-150’s naturally aspirated V6 — the carbureted-era 10% figure doesn’t quite translate to modern FI engines, but the degradation is real.
Over on Reddit’s r/MechanicAdvice community — now over 1.4 million members as of early 2026 — the consensus among seasoned DIYers consistently points to the K&N 33-Series drop-in filters as offering the best long-term value for daily drivers. The upfront cost of ~$65–$75 is offset after just 2–3 replacement cycles versus buying disposable filters repeatedly. K&N’s own testing (available on knfilters.com) shows their filters can handle up to 1 million miles of cleaning cycles, though most real-world users clean them every 50,000 miles.
For Korean-market vehicles (Hyundai, Kia) which have seen surging popularity in North America, the OEM Hyundai/Kia air filters (part numbers readily available on HyundaiPartsDeal.com) typically run $18–$25 and outperform some third-party generics in independent ISO 5011 filtration efficiency testing.
Reusable vs. Disposable: Which Should You Choose?
- Disposable paper/synthetic filters (FRAM, Purolator, Bosch): Best for most everyday drivers. Low upfront cost, no maintenance required, just replace and forget. Filtration efficiency is excellent — often 98–99% at 10-micron particle size.
- Reusable oiled cotton gauze filters (K&N, AEM Dryflow): Higher initial cost, requires periodic cleaning with specific kits (~$10–$15 per cleaning). Slightly better airflow characteristics. Long-term cost savings if you keep a vehicle past 60,000 miles.
- OEM filters: Always a safe bet, especially for turbocharged or diesel engines where filtration efficiency specs are tighter.
Common Mistakes to Avoid
- Installing the filter backwards or with gaps at the gasket edge
- Forgetting to reconnect the mass airflow (MAF) sensor connector — this will trigger a check-engine light
- Over-oiling a reusable filter before reinstalling — excess oil can contaminate the MAF sensor
- Buying a filter by size match only without checking filtration rating compatibility
- Skipping the housing interior cleaning — old debris can get pulled into the engine immediately after a fresh filter goes in
Conclusion: The Case for Going DIY Is Stronger Than Ever
In 2026, with parts availability being better than ever (same-day delivery from AutoZone or Amazon for most filter types), there’s genuinely no reason to keep paying shop markup for a maintenance task that takes less time than brewing a cup of coffee. Even if you’ve never opened your hood for anything mechanical, air filter replacement is the perfect starting point. It builds confidence, saves real money, and gives you a direct connection to understanding your vehicle better.
If you’re truly uncomfortable doing it yourself — maybe you drive a newer turbocharged European vehicle with a more complex airbox arrangement — an independent shop charging $25–$40 total is a perfectly reasonable alternative to the dealership’s premium pricing. The key is never walking in uninformed.
Editor’s Comment : I’ve personally been replacing my own air filters since my first car at 22, and it’s one of those rare wins where the effort-to-reward ratio is almost embarrassingly good. If this is your first time, film yourself doing it — you’ll laugh at how fast it goes and wonder why you ever paid someone else to do it. Start there, build the habit, and your wallet will thank you every single maintenance cycle going forward.
📚 관련된 다른 글도 읽어 보세요
- How to Choose the Right Auto Tuning Shop in 2026: What You Must Know Before You Sign Anything
- 브레이크패드 갈 때가 됐나? 정비소 가기 전 2026 자가진단 완벽 가이드 (수치로 판단하라)
- ECU 튜닝 연비 향상 효과 실제 후기: 6개월 직접 달려보니 평균 18% 올랐다 [2026 최신]
태그: []
Leave a Reply