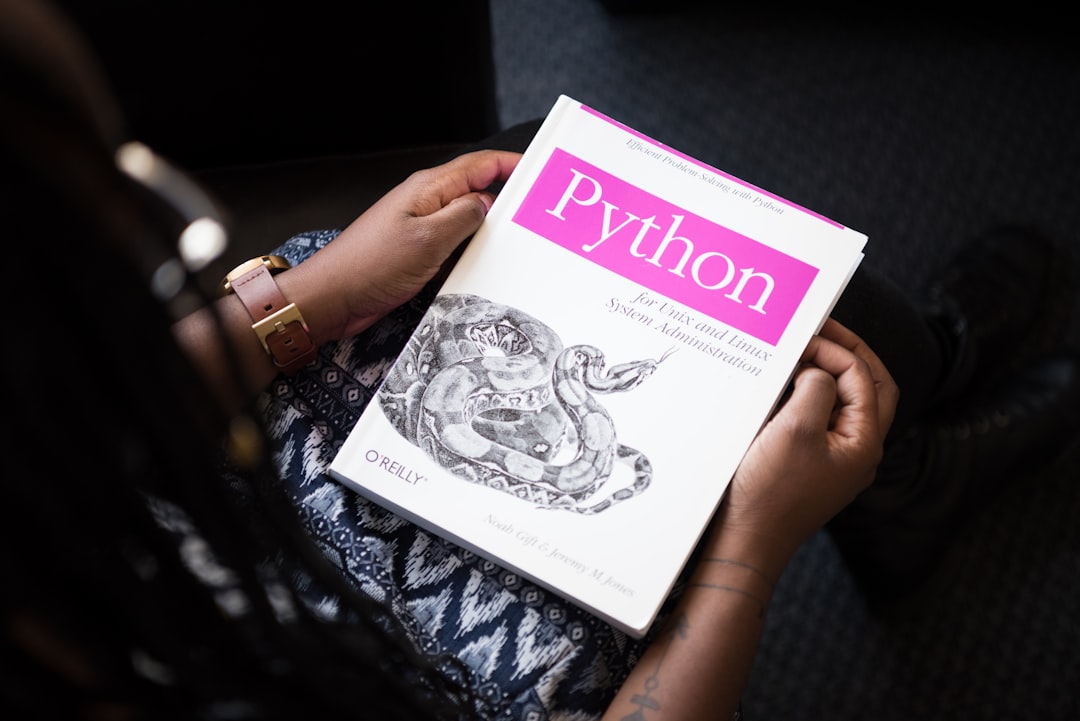
A friend of mine — a self-taught developer about six months into her Python journey — messaged me in a panic last week. She’d been following a popular tutorial, typed everything exactly as shown, and still got a cascade of ModuleNotFoundError and ImportError messages that made zero sense to her. Sound familiar? I’ve been there more times than I care to admit, and honestly, Python virtual environments are one of those things that seem simple until they quietly wreck your afternoon.
So let’s dig into this together — not as a lecture, but as a real walkthrough of what actually happens, why things break, and how to set up a Python virtual environment in 2025 that doesn’t become a maintenance nightmare three weeks later.
Why Virtual Environments Exist (And Why You Can’t Skip Them)
Here’s the core problem Python has always struggled with: every project wants its own version of a library, but by default, Python installs packages into one global location. Install requests==2.28 for Project A, then upgrade to requests==2.32 for Project B — and suddenly Project A is broken. No warning. No error at install time. Just silent dependency corruption that shows up later as a confusing runtime crash.
Virtual environments solve this by creating an isolated directory containing a self-contained Python interpreter and its own site-packages folder. Each project gets its own bubble. Activate the environment, work, deactivate — clean every time.
In 2025, the tooling landscape has matured significantly. Here’s a quick breakdown of your main options:
- venv — Built into Python 3.3+. Zero dependencies, reliable, but basic. Good for simple projects.
- virtualenv — Faster than venv, supports older Python versions, more configurable. Still widely used in CI/CD pipelines.
- conda — Manages both Python packages AND non-Python binaries (like CUDA libraries). Essential for data science and ML workflows.
- pipenv — Combines pip + virtualenv with a Pipfile for dependency locking. Great UX, but has had historical performance issues.
- poetry — Modern, opinionated dependency management with lock files. The current community favorite for production Python projects in 2025.
- uv — The new kid on the block from Astral (creators of Ruff). Written in Rust, 10–100x faster than pip for package resolution. Gaining serious traction this year.

Step-by-Step: Setting Up With venv (The Baseline)
Let’s start with the built-in option because understanding it makes every other tool make more sense.
Step 1 — Create the environment:
python3 -m venv .venv
This creates a hidden .venv directory in your project folder. The dot prefix keeps it out of sight and is the convention most linters and editors now expect.
Step 2 — Activate it:
- macOS/Linux:
source .venv/bin/activate - Windows (CMD):
.venv\Scripts\activate.bat - Windows (PowerShell):
.venv\Scripts\Activate.ps1
If PowerShell throws a cannot be loaded because running scripts is disabled error — that’s error PSSecurityException, and the fix is running Set-ExecutionPolicy -ExecutionPolicy RemoteSigned -Scope CurrentUser once. Took me 20 minutes to find that the first time.
Step 3 — Verify you’re inside:
which python (macOS/Linux) should return a path containing .venv. If it shows your system Python, activation failed — usually because you’re in the wrong shell or ran the script in a subshell.
Step 4 — Install and freeze:
pip install requests pandaspip freeze > requirements.txt
Commit requirements.txt. Never commit the .venv folder itself — add it to .gitignore immediately.
The uv Workflow — Why It’s Changing Everything in 2025
If you’re starting a new project today and don’t have a reason to use legacy tooling, seriously consider uv. Benchmarks from Astral’s own testing show dependency resolution that takes 45 seconds with pip completing in under 2 seconds with uv on the same machine. Real-world community benchmarks on Reddit’s r/Python and Hacker News threads corroborate roughly a 10–80x speedup depending on project complexity.
Setup is dead simple:
pip install uv (or via the standalone installer: curl -LsSf https://astral.sh/uv/install.sh | sh)
Then:
uv venv .venvsource .venv/bin/activateuv pip install requests pandas
The interface mirrors pip intentionally, so the learning curve is nearly zero. Where uv really shines is in Docker builds and CI environments — cutting a 3-minute pip install step down to 15 seconds is a genuinely meaningful win for team velocity.
Common Errors and What Actually Causes Them
This is the section tutorials always skip, so let’s be explicit:
- ModuleNotFoundError after installing a package — 90% of the time, you installed the package in the wrong environment. Run
pip show <packagename>to see where it’s installed, then check if your environment is actually activated. - Wrong Python version inside the venv — By default,
python3 -m venvuses whateverpython3resolves to. If you need Python 3.11 specifically, usepython3.11 -m venv .venvor manage versions with pyenv first. - VS Code not detecting the venv — Open the Command Palette (Ctrl+Shift+P), search “Python: Select Interpreter”, and manually point it to
.venv/bin/python. VS Code sometimes caches the old interpreter path. - pip install fails with SSL certificate errors — Common in corporate networks with proxy inspection. The workaround is
pip install --trusted-host pypi.org --trusted-host files.pythonhosted.org <package>, but flag it to your IT team because it’s a security concern. - Conda environment activation not persisting in scripts — Conda environments activated in a shell don’t carry into subprocess calls. You need to use
conda run -n myenv python script.pyor activate within the script explicitly.
Which Tool Should You Actually Use?
Here’s a realistic decision framework for 2025:
- If you’re learning Python or building small scripts → Use
venv. It’s already installed, it works, nothing to configure. - If you’re building a production web application or library → Use Poetry. The lock file, dependency groups (dev vs prod), and build system integration are worth the initial setup time.
- If you’re doing data science or ML with CUDA/native dependencies → Use conda (specifically Miniforge/Mambaforge for licensing reasons). Nothing else handles binary dependencies as cleanly.
- If CI/CD speed is a priority or you’re on a large team → Evaluate uv now. It’s production-stable and the speed gains in automated pipelines are hard to ignore.
- If you’re maintaining a legacy codebase → Stick with virtualenv + pip-tools unless you have a specific reason to migrate. Don’t introduce churn for churn’s sake.
One Habit That Saves Hours
Whatever tool you choose, build this habit immediately: always create your virtual environment inside the project directory as .venv, and always add .venv/ to your .gitignore before your first commit. The single biggest source of environment confusion I see is environments created in random locations (home directory, Desktop, temp folders) that get forgotten, duplicated, or accidentally deleted.
A tidy project structure looks like this:
my-project/
  .venv/          ← never committed
  src/
  tests/
  requirements.txt  ← always committed
  .gitignore
Simple, portable, and the next person (or future you) can recreate the environment in two commands.
One last thought worth keeping in mind: the tooling will keep evolving — uv might absorb more of the ecosystem, Poetry will keep improving, and something new will probably emerge. But the underlying concept of isolation stays constant. Master why virtual environments exist, and adapting to new tools becomes a 20-minute read rather than a day of confusion. You’ve got this.
📚 관련된 다른 글도 읽어 보세요
- Car Air Filter Replacement Cost & DIY Guide (2026): Save Up to $80 With These Simple Steps
- 2026 Imported Car New Models Deep Dive: The Best New Arrivals You Need to Know About This Year
- Why I Stopped Trusting Generic Advice — Real Keyword Strategy That Actually Works in 2025
태그: []
Leave a Reply